
How to create simple CI/CD pipeline using Azure DevOps
In this post I will show you how to create and setup a simple CI/CD pipeline using Azure DevOps.
Continuous Integration and Continuous deployement aka CI/CD is a concept to reduce the gap or time between developing and deploying an application.

Generally, when a developer pushes a new feature to the applications code base, the code is passed through a series of checks to test the quality of the code. Once the test passes the code is then manually compiled and deployed on the server or wherver the deployment environment lies.
This is a manual and time consuming process and CI/CD pipelines aims to automate this process and reduce the time and manual efforts taken after each commit/code push.
In this post we will deploy the Simple Flask API created in this post and setup a CI/CD pipeline on top of it. This pipeline will monitor any changes in the code base and will compile and deploy the API on Azure Web Apps.
After completing this tutorial, you will know:
- Setup Azure Devops Account and repository
- Create Azure Pipelines
- Setup the Azure container registry with pipeline
- Run pipelines
Lets get started!
1. Setup Azure DevOps Account
Go to Azure DevOps and click on Star Free. Log in with your gmail account and create and follow all the steps. You will be prompted to create an organization. Give your organization a unique name.
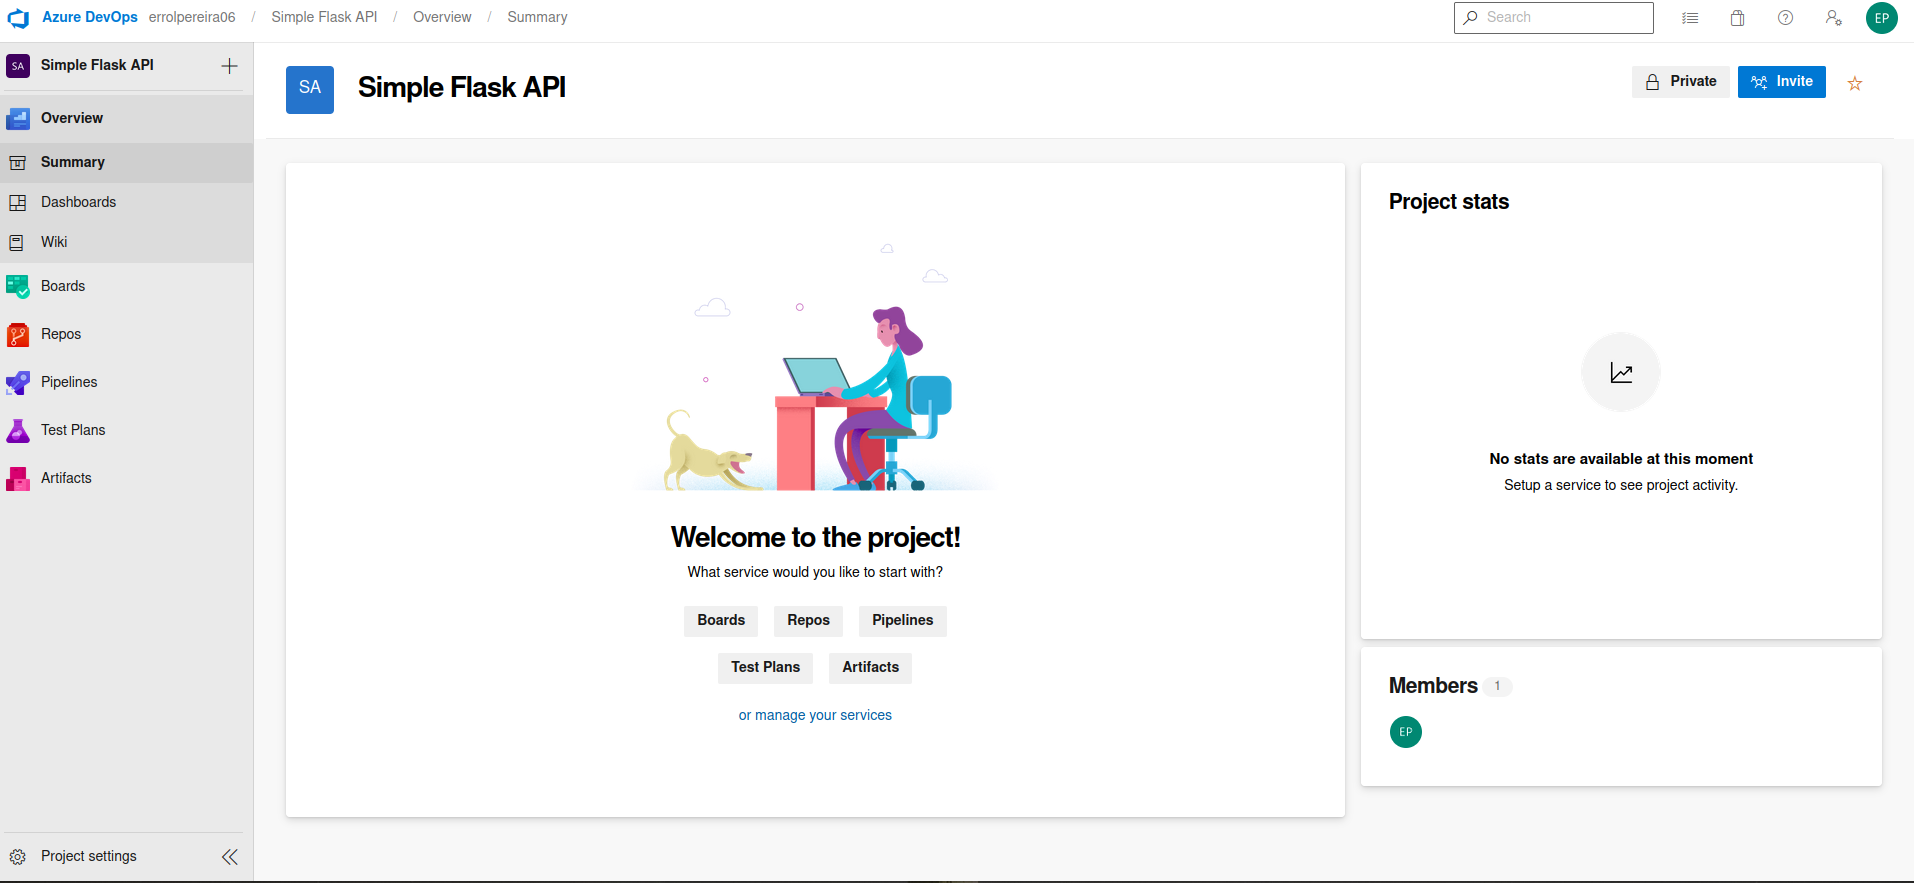
Once the registration is completed you will be redirected to the DevOps home page which will look like the image below.
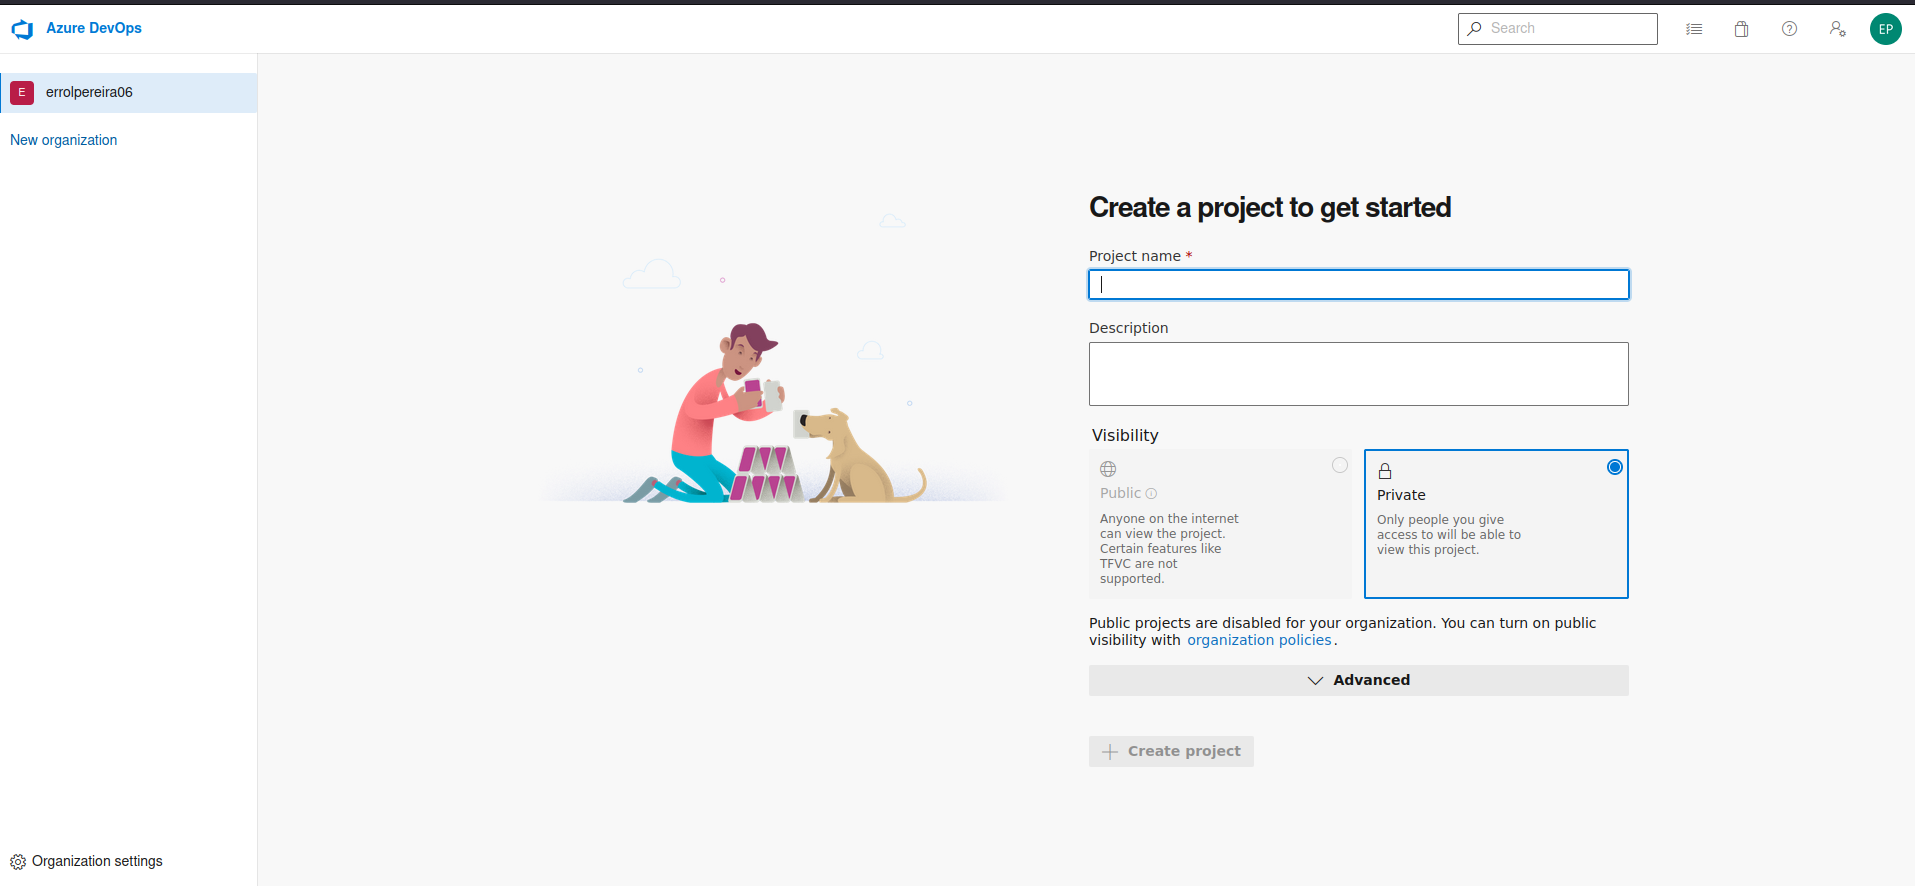
Now let us create a repository/project in your organisation which you just created. Create a projeect with the name Simple Flask API and keep the visibility to be private. Click on Create Project button. This will create a project with the name Simple Flask API.
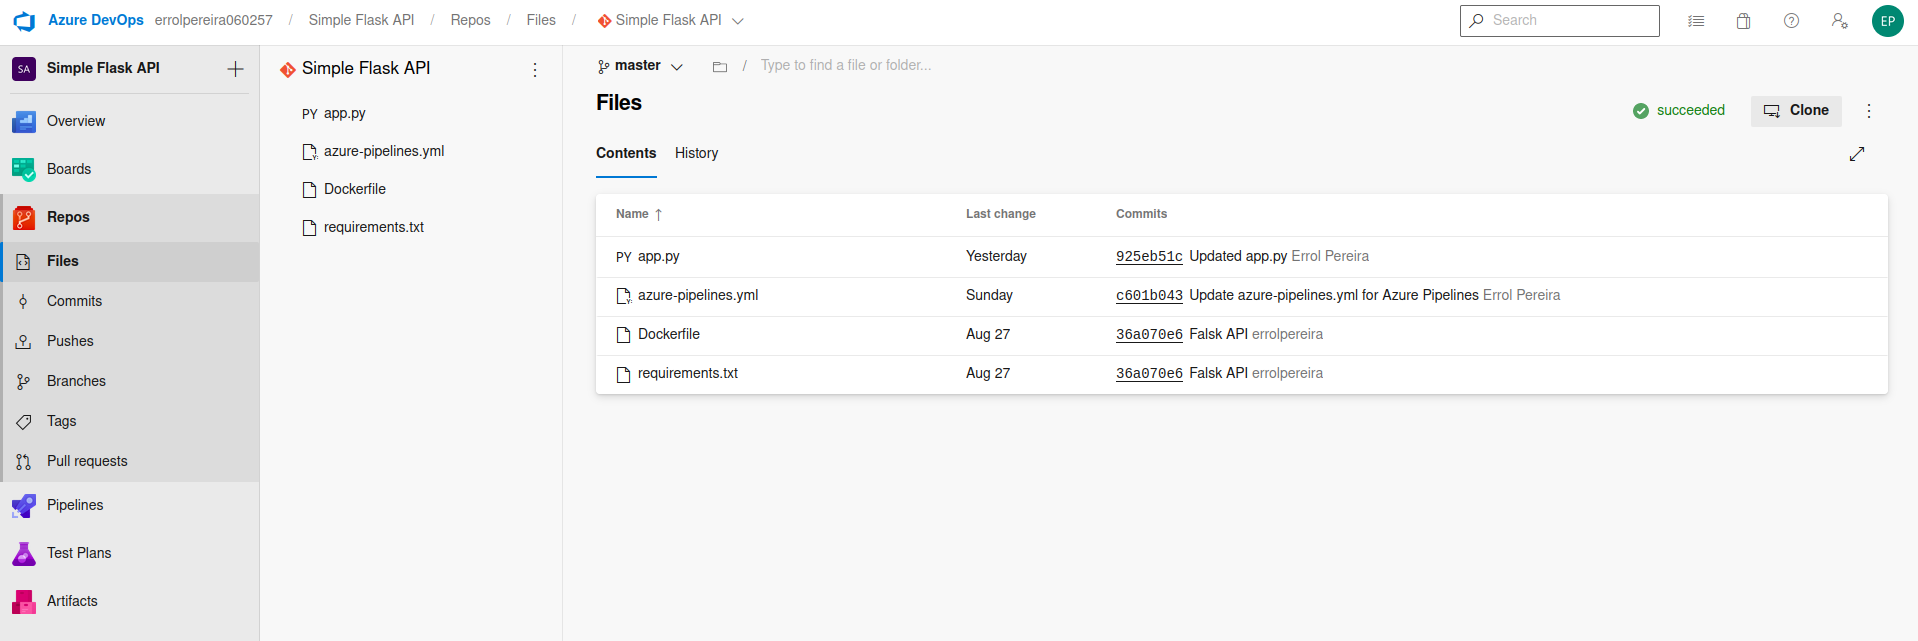
Once you are in your project view on the left you will see Repos. Click on the Repos and it will show you how to import or add codes or files to your repository. The interface is just like the Github. Lets add the Simple Flask API code which we created in this post. Use this link to download the code files.
Once you have added the codes in your azure repository you will see an output similar to the one below
2. Create Azure Pipelines
Now we will create the pipeline which will create a docker image of the code and will push the image to the Azure Container Registry.
For this we need to have an Azure account with Azure Container registry created. You can sign up for a free trial of 30 days by just providing your credit card / debit card details. Don’t worry they will not charge you anything even after the trial expires as it is Pay as you Go.
Sign up for a free account using this link and create and Azure Container Registry by following this tutorial.
**Note: Use the same email address which you used to create the Azure DevOps account. **
Once your account is setup come back to azure devops and click on the Pipelines options on the left. You will be greeted with a similar page as below.
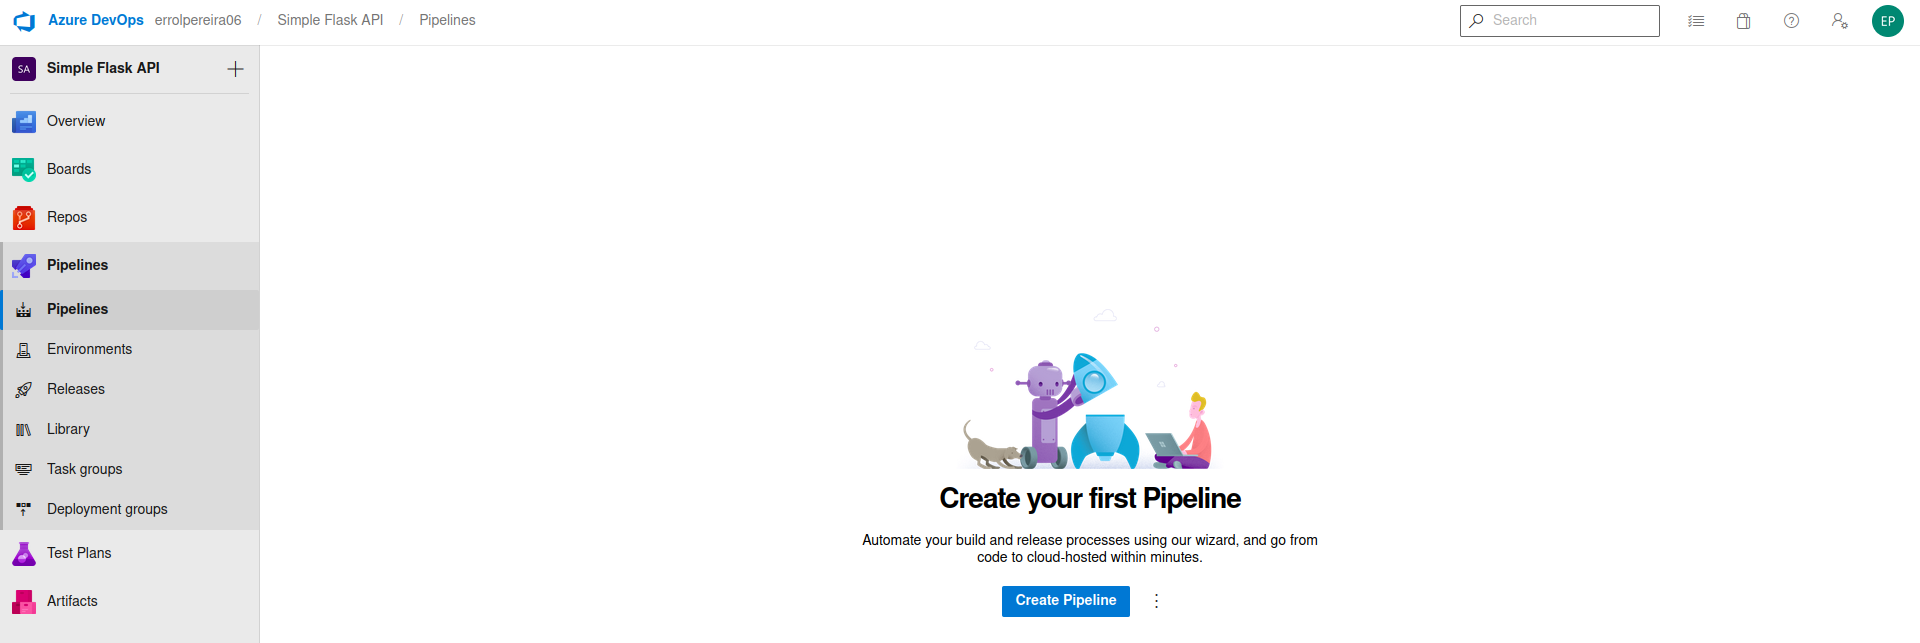
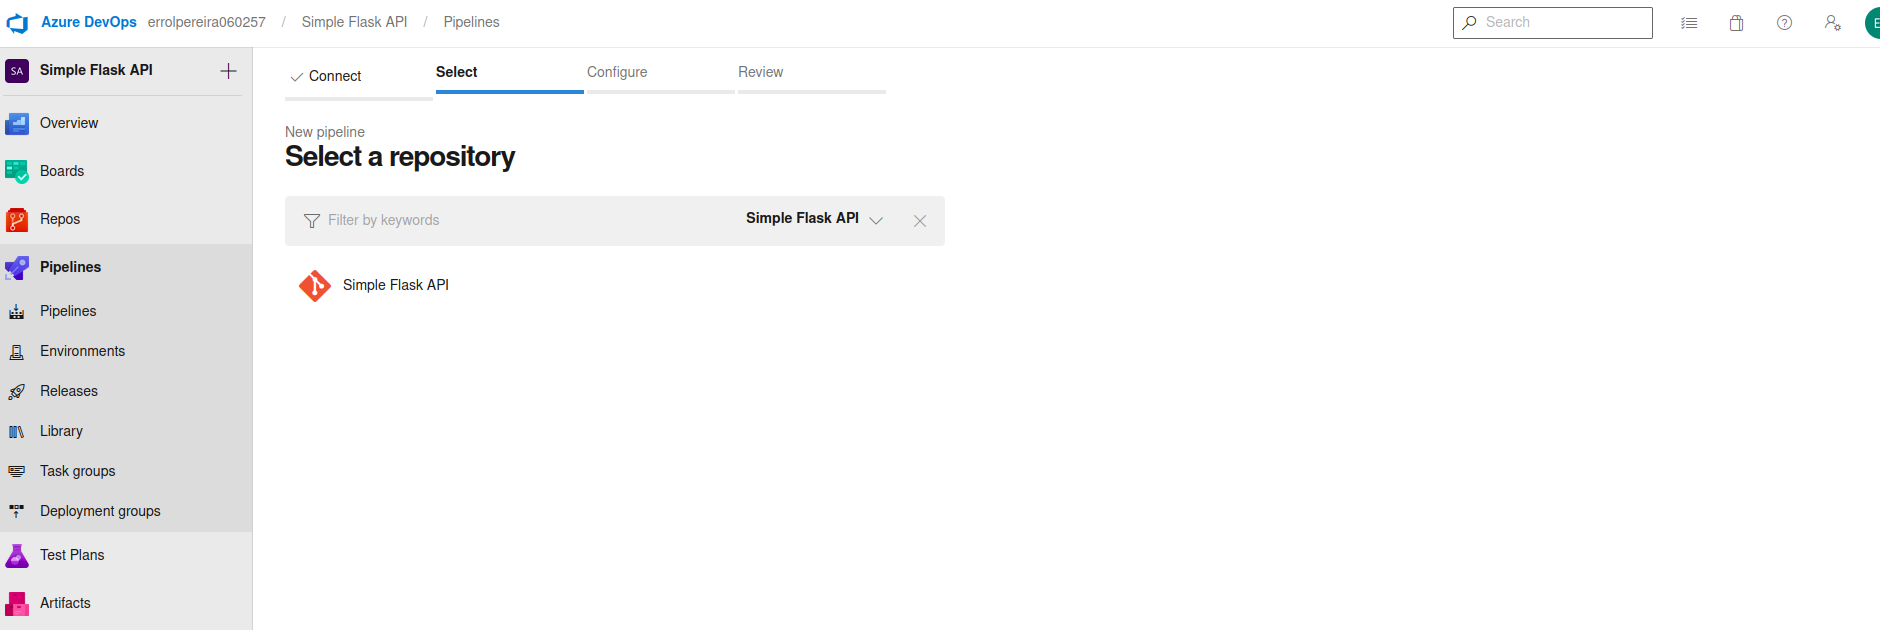
Click on the create pipeline button. It will ask you for your code repository. Select Azure Repos Git. It will then show you the list of repository in your azure git. As we have created only one repository with the name Simple Flask API we will only see this one option. Select the repo name for which you want to create the pipeline. In our case Simple Flask API.
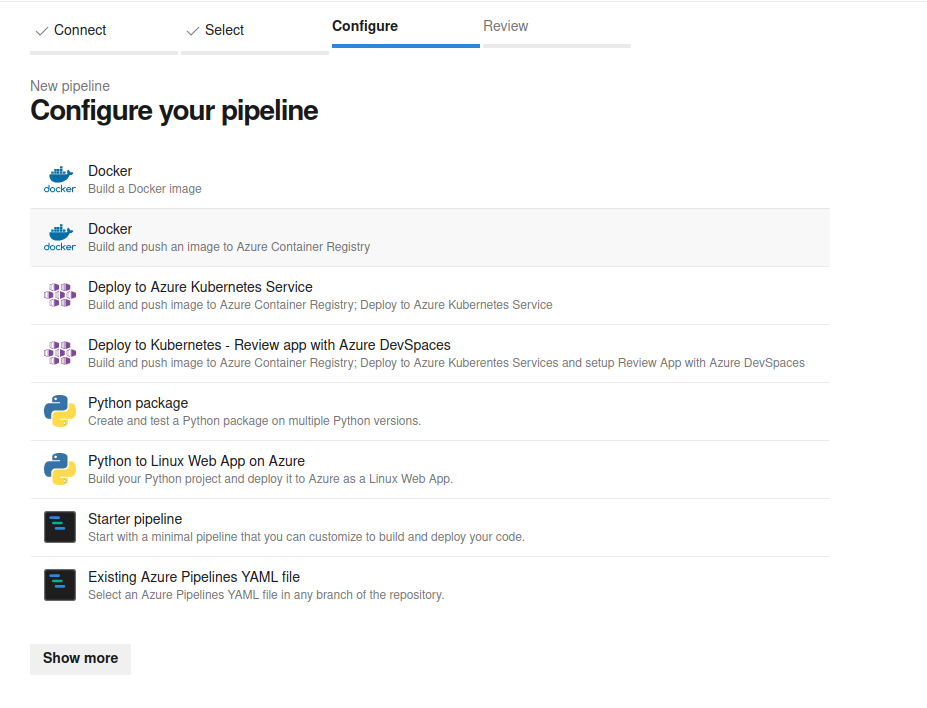
Now it will ask you what you want to do with this pipeline. We want to build a docker image of our application and push it to the Azure Container Registry. We will select the option that says “Docker - Build and push an image to Azure Container Registry”.
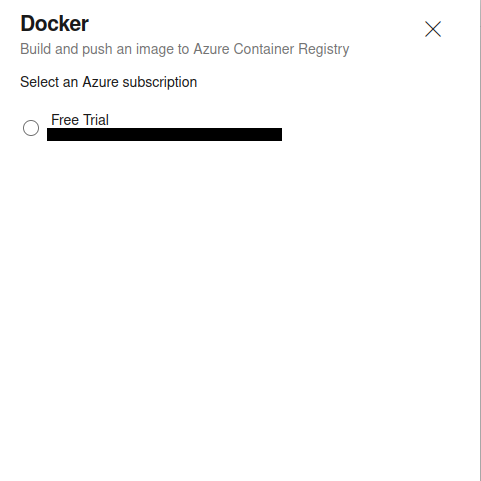
Now it will go ahead and authenticate your azure account and input the container registry name that you have created. Select the Free trial subscription option and click on continue.
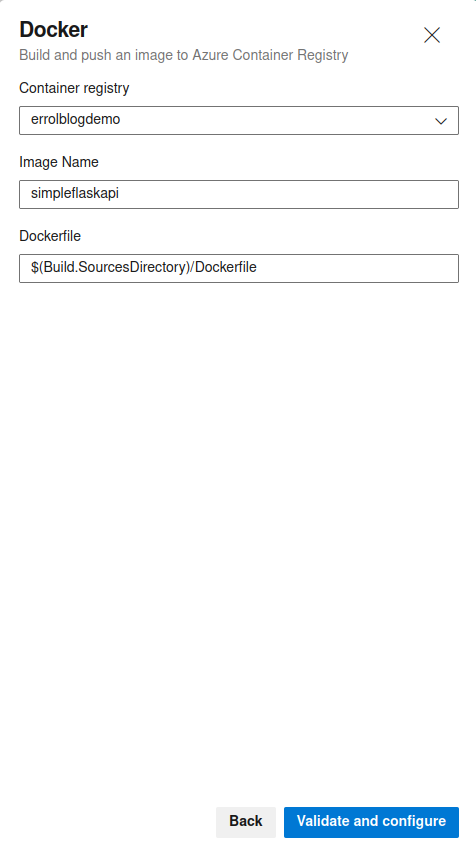
Now select the container registry name which you created earlier. Give a name to the docker image which you want to push in the registry. Once you are good click on validate and configure button.
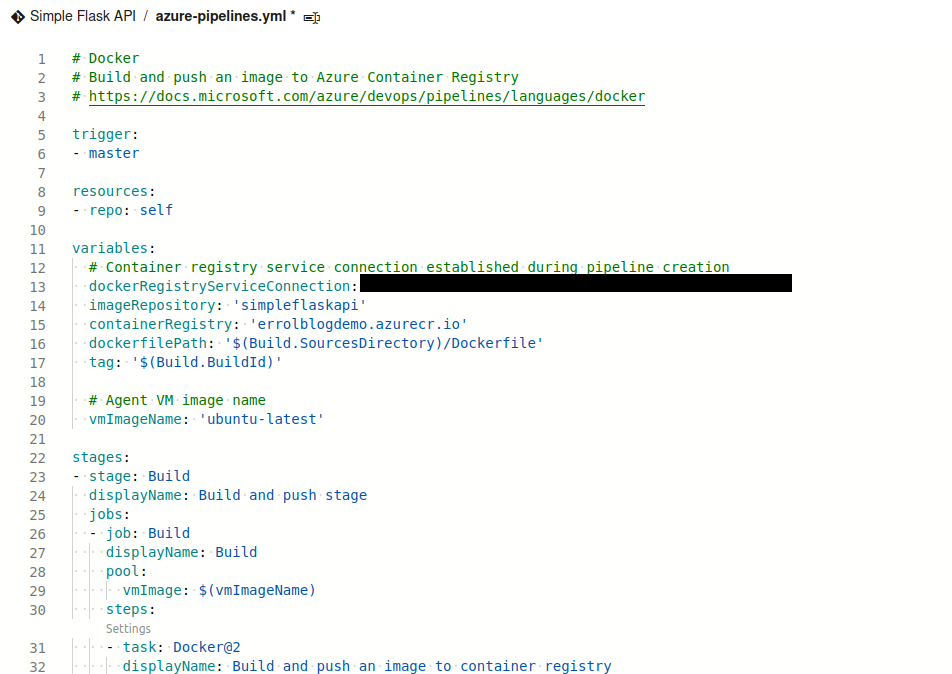
If everything is correctly configured you will see a YAML file with all the configurations done for you. The file will look something like the image below
3. Run Azure Pipeline
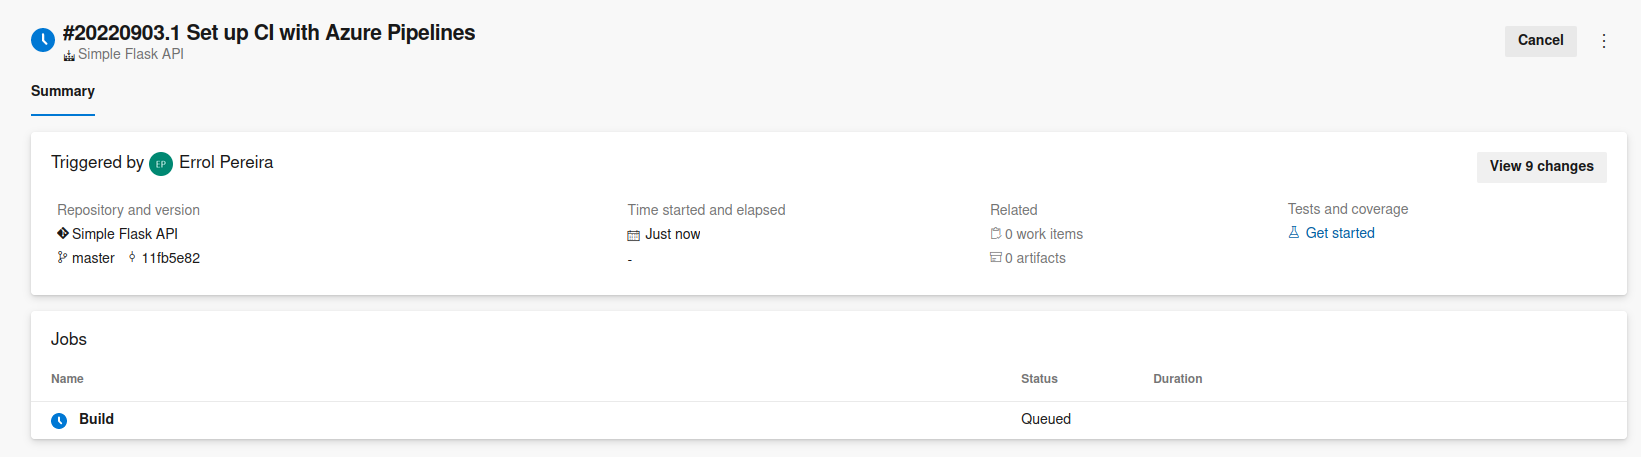
Now that everything is setup go ahead and click on save and run button. This will trigger the pipeline. It will compile your Flask API into an docker image and will push that image in your Azure Container registry.
Once the pipeline run is completed you can check your container registry in the azure portal and you will see the image pushed in the registry.

4. CI/CD Automation
Now you must be wondering where is the CI/CD part in this pipeline that we created. If we have to manually trigger the pipeline everytime we make any changes in the application then it does not really solves anything. But luckily the pipeline we created get triggered automatically whenever there is any change in the code base.
Go ahead and add a commennt in the app.py file or make a minor change in any of the file and commit and push your changes to the repository. If you navigate to the pipelines menu you will see that the pipeline that we created got triggered automatically and it is compiling and building the image with the latest changes that we pushed.

There you go, we created a pipeline which will take care of compiling our application into a docker image and pushing it in ACR.
References: